I'm about half way through this model but thought I'd post some progress pics anyway. This is my first progress thread! This is also my first model I will finish on my new workbench: http://cs.scaleautomag.com/SCACS/forums/p/106682/995822.aspx#995822
I'm building my Chevelle as the fastest street car around town in the early 70s. Someone bought a new ultra rare 66 L78 and tranformed it over the years into this monster:
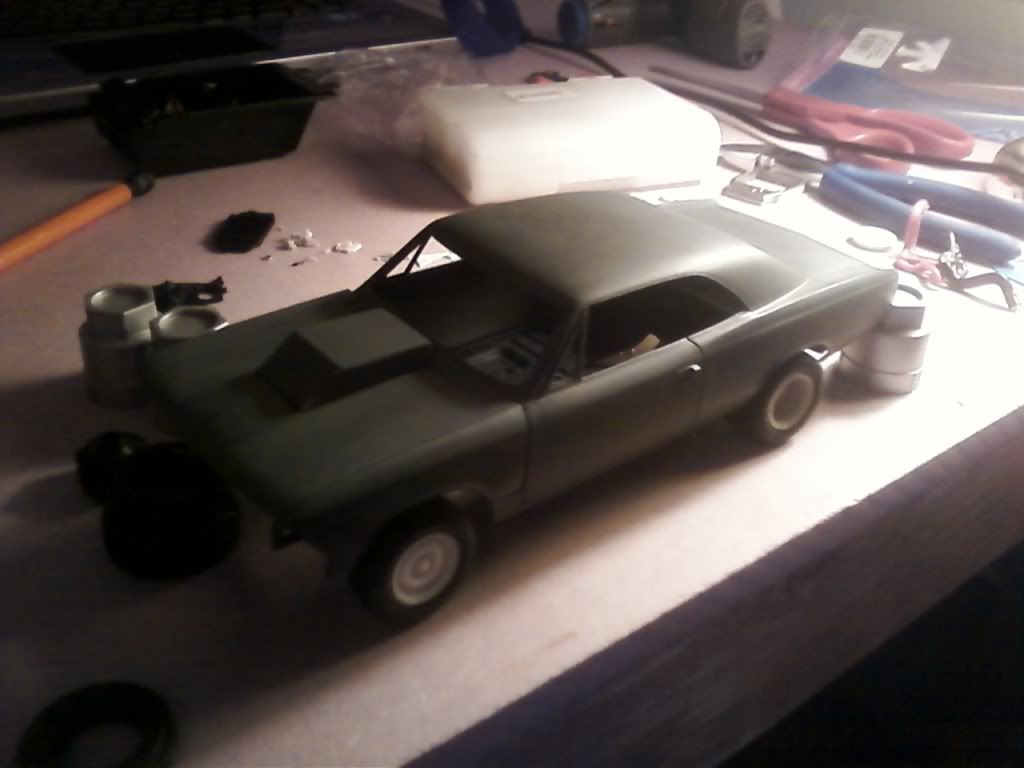
1/1 parts come in handy too, thats my lug nut covers from my Corvette holding the back end up for the mockup!
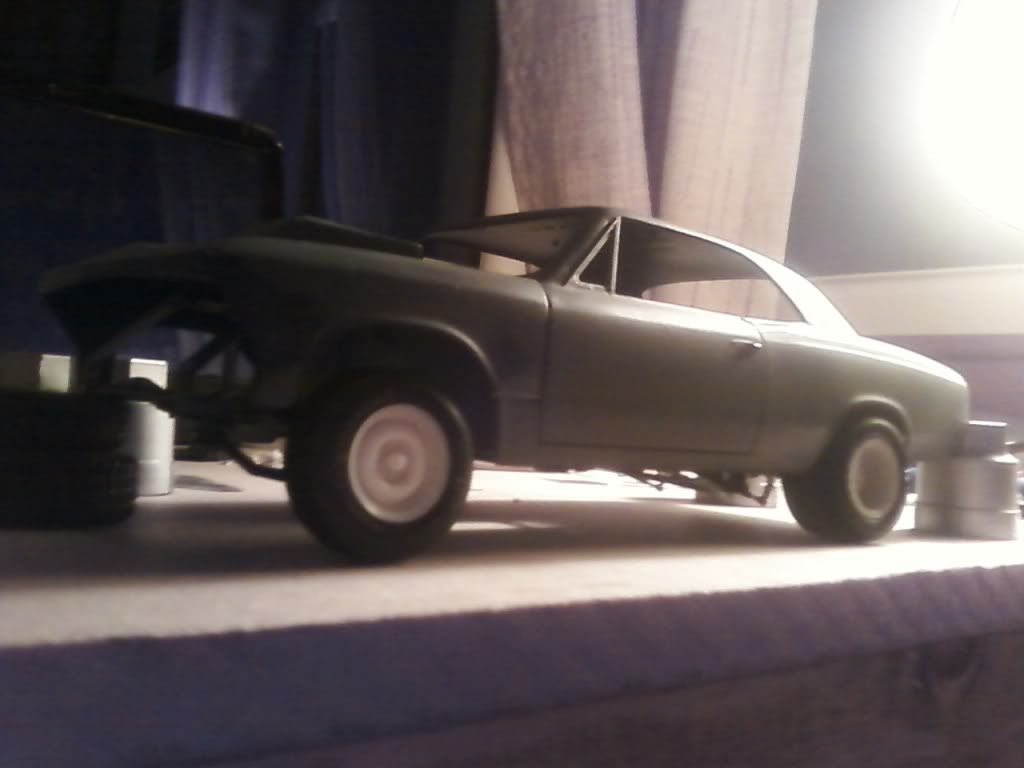
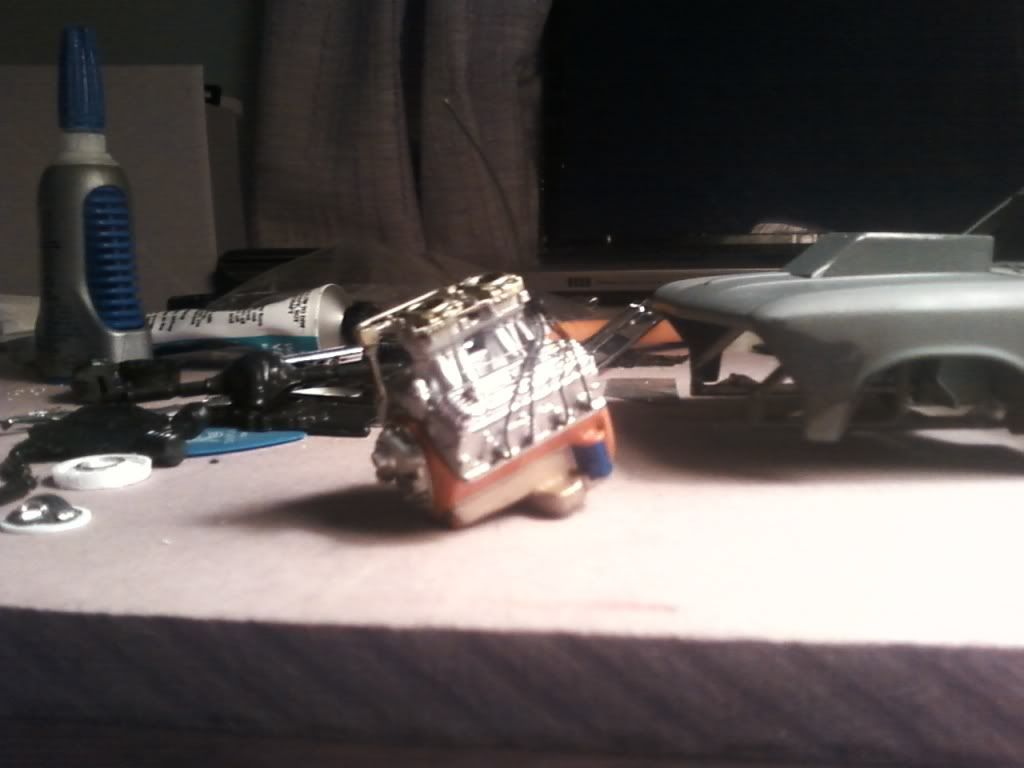
rare L88 corvette 427 with tunnel ram, I tried to build the most radical 427 chevy motor I could think of that would still idle and go on the street. I could of built a ZL1 but those were not very reliable and very unreliable when built up plus the iron block on a l88 is probably stronger...
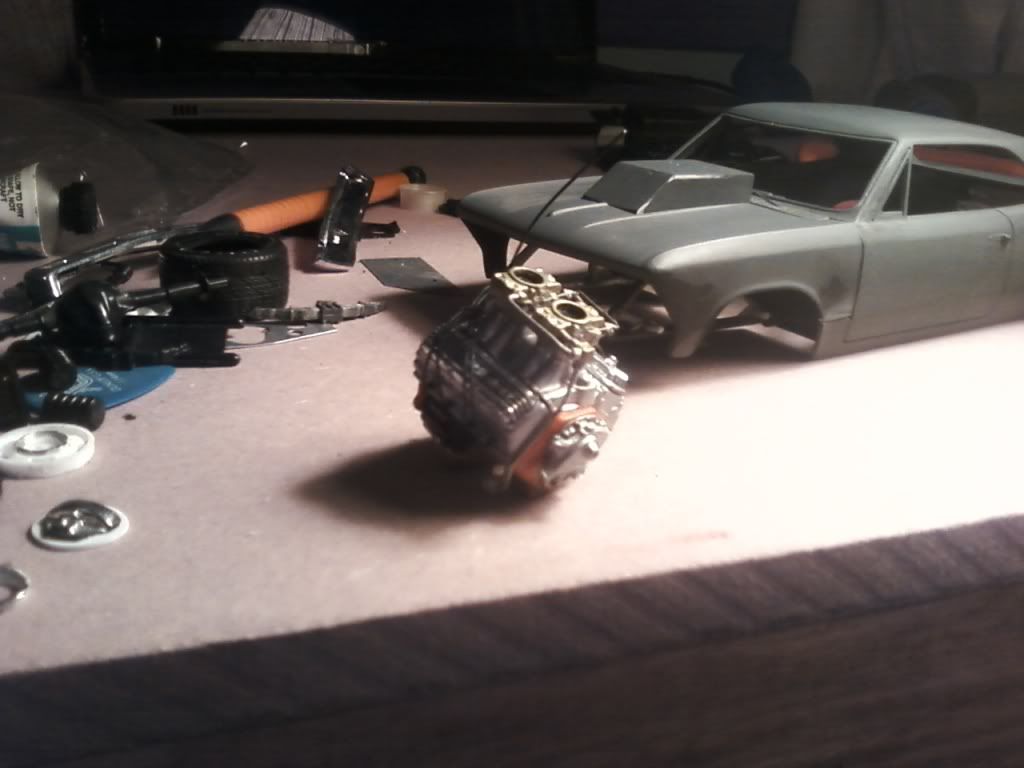
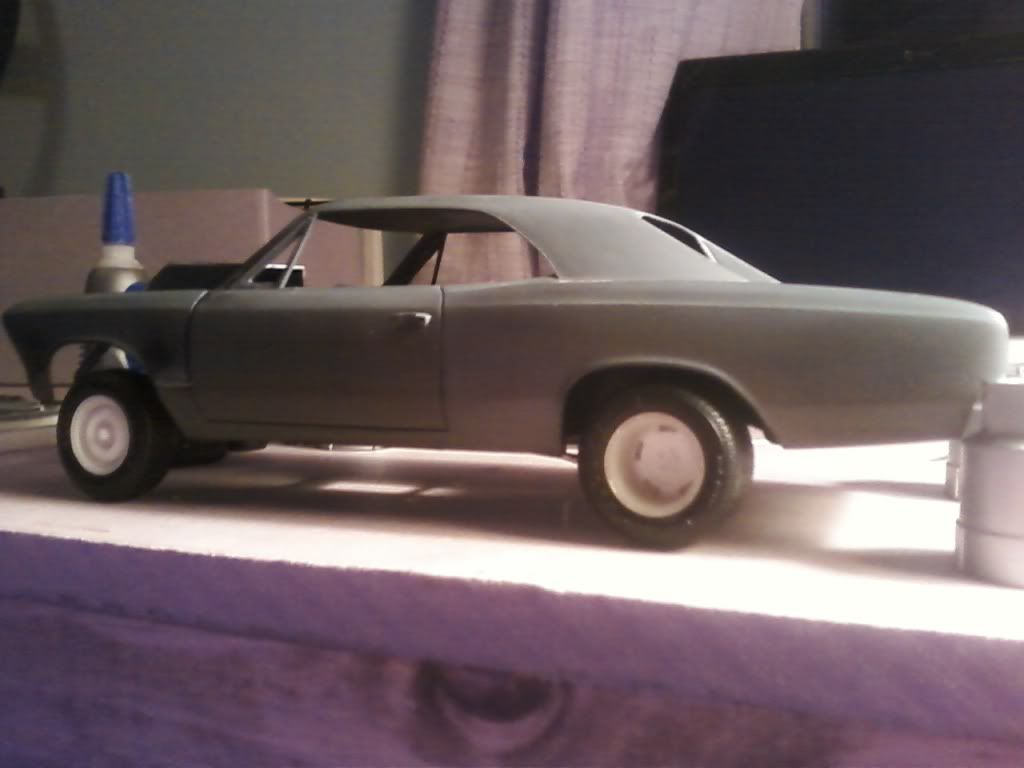
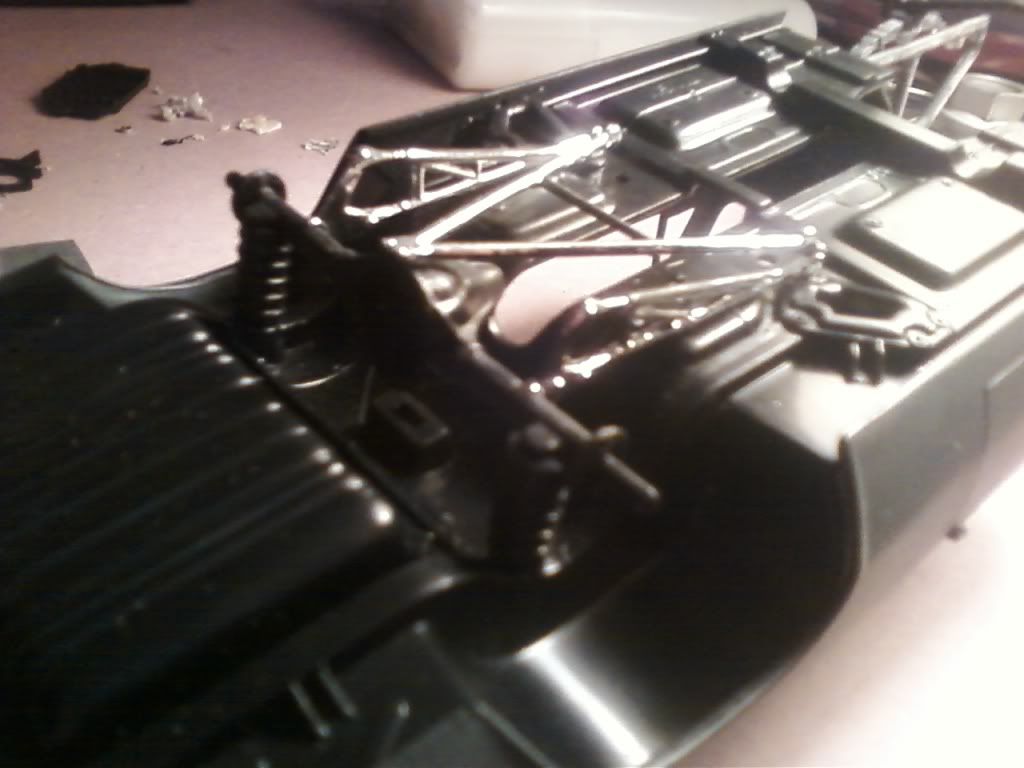
Chssis mockup, I'm going to strip the chrome...
i traded the original kit headers a long time ago but found the same ones at a model show. Whoever painted these didn't do a very good job, the paint they used is very thick and nothing will take it off so I plan on building a set exactly like these out of solder.

The interior is finished, I didn't put a tach in because good street racers know their car and know when to shift! I don't know why the seatbelts showed up blue in the picture, they are diffenatly black. I used the steering wheel from revells amazing 69 Corvette model kit and cut out the area inbetween the spokes like the 1/1 steering wheel. I painted the rim with stripes of flat black than painted the rim with mixed thinned red and brown paint to achieve the look of a rosewood rim on a 1/1 corvette wheel. I used an old high E string from my electric guitar for the chrome trim in the dash. I sanded out the radio and shaped a piece of styrene for the block off plate. Extra weight thats not needed, Radio Deleted!
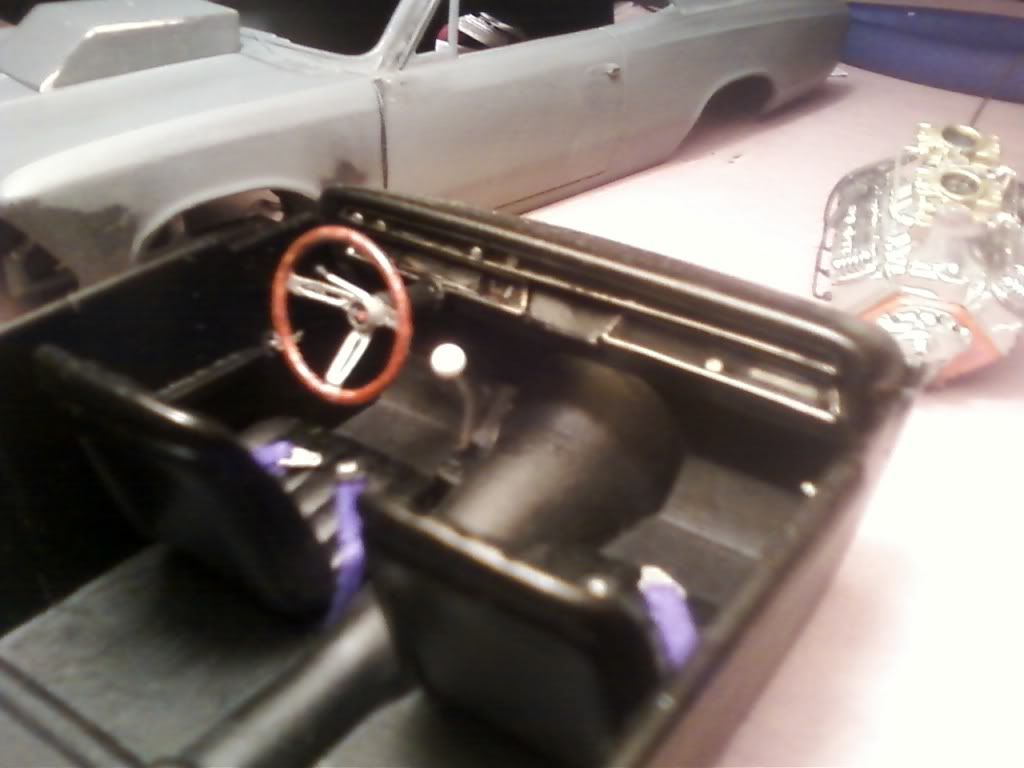
For the shifter I used a piece of solder. I bent it at the right angle than flatened it out with needle nose pliers leaving the top round so I could slid the shift knob on the rod. for the shift knob I used a bead from a necklace. I simply glued the bead on the rod and than painted it gloss white. I used a drob of white paint to fill the hole at the top and let gravity shap the bead into a perfect ball. I found this alot easier than using the needles with a ball at the end and it also looks much more realistic. I couldnt find a shift boot in the right shape so I made one out of styrene. I just cut 4 rectangles that got smaller each time I cut one and glued them together with even smaller rectangles inbetween to space it out.
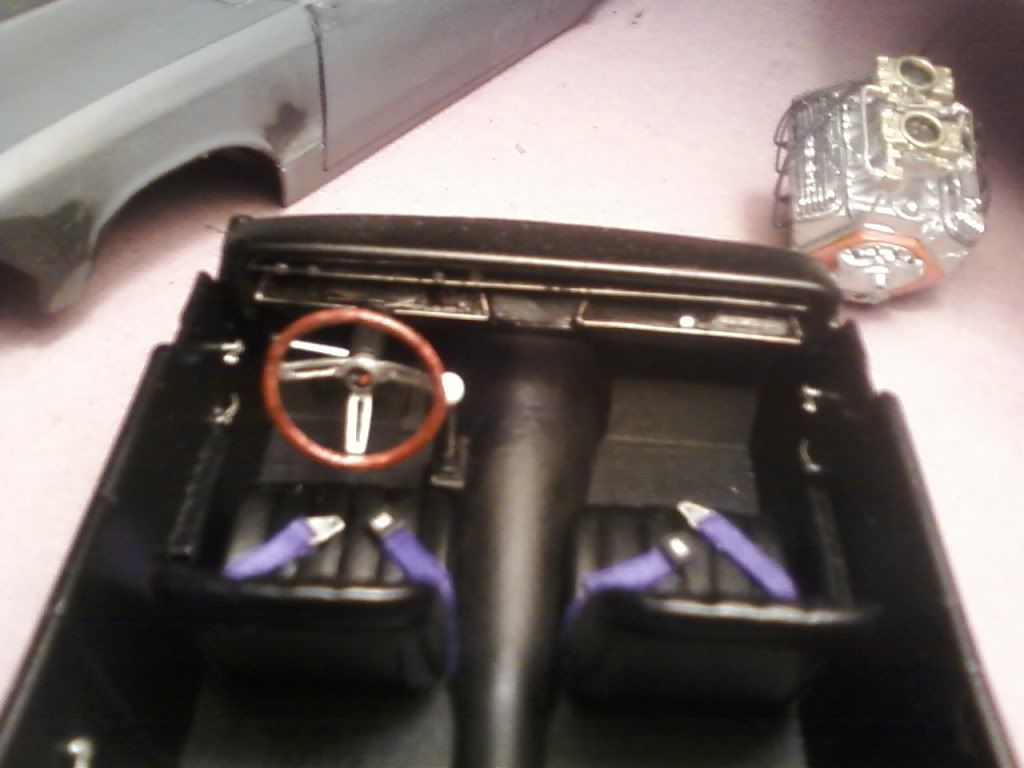
I sanded the molded in door panal detail and built a arm rest out of styrene. I replicated the plain door panels off of the base model chevelle. I wanted it to look like someone replaced the deluxe panels that were part of the SS package with the plain ones. I used model car garages amazing 1966 chevelle photoetch set for the window cranks and door levers.

Source: http://cs.scaleautomag.com/SCACS/forums/thread/995816.aspx
No comments:
Post a Comment